Editing objects
If configured for your own role and the objects displayed, the objects displayed on the map can also be edited.
There are two options to edit objects:
- From the Layertree, by selecting the "Edit layer" entry in the context menu of the corresponding layer/topic
- Aus der Ansicht der FeatureInfo heraus
Procedure for option 1:
After selecting the "Edit layer" option in the context menu of the layer/topic, the object editor opens in a panel on the right-hand side of the application:
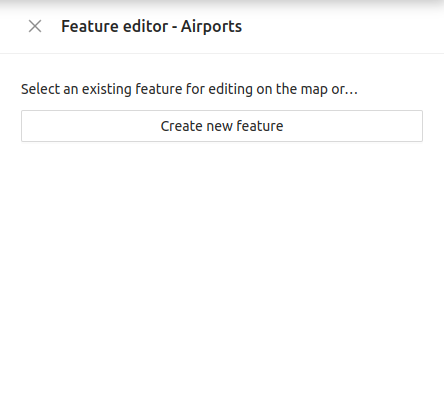
An existing object can be selected by clicking on the desired object in the map. With the appropriate authorisation, a new object can also be created. However, this function is not available to every user.
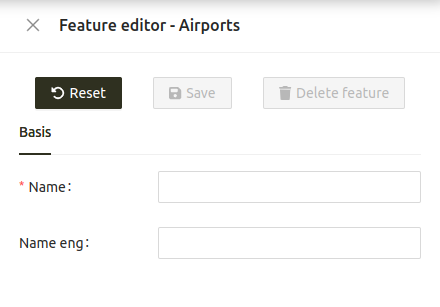
After selecting the desired object on the map, the object editor offers all attributes configured for editing for editing:
There are various input fields:
- The desired text can be entered in normal text fields.
- A larger text block can be entered in some fields, in which case the field is correspondingly larger.
- For attributes with selection lists, the list of possible values opens after clicking on the field value; a value can now be clicked on.
- For yes/no fields, a checkbox is displayed which can be ticked or unticked as required.
- For number fields, the desired number can be entered or increased or decreased using the arrows at the end of the field.
- For date fields, clicking in the field opens a date picker from which the desired date can be selected.
- For fields for uploading images, you can click on the "Upload images" button and select one or more image files (JPG, PNG and TIFF are permitted).
- For fields for uploading documents, the "Upload files" button can be clicked and one or more documents can be selected (XLS, XLSX, XLSM, DOC, DOCX and PDF are permitted).
Fields that are mandatory for input are marked with a red asterisk.
Once all the required attributes have been entered, the edit can be saved using the "Save" button. If mandatory fields are not filled in, saving is not possible.
The edited fields can be reset using the "Reset" button, unless "Save" has already been clicked.
Users with extended authorisations also have the option of permanently removing the entire object from the system using the "Delete object" button.
Procedure for option 2:
After clicking on the edit function ![]() in the query map features, the object editor opens directly and offers all attributes of this object configured for editing for editing. All other functions are identical to variant 1 (see description above)
in the query map features, the object editor opens directly and offers all attributes of this object configured for editing for editing. All other functions are identical to variant 1 (see description above)
Create new objects (from option 1)
This function is only available to users with extended permissions.
If you select the "Create new object" function, the object editor opens with the empty input form for the new object. The necessary attribute entries can now be made here. This is similar to editing an existing object.
To set a spatial reference in the map for the new object, a geometry must be drawn for the new object. The corresponding tools are located on the left-hand side of the object editor panel:
![]()
The tools have the following functions:
- Draw new geometry
- Edit geometry
- Delete geometry
- Undo last action
- Restore last action
Changes to the geometry, like the attribute entries, are persisted via the "Save" button in the object editor.
Edit geometries of existing objects
This function is only available to users with extended permissions.
If the user has the appropriate authorisations for geometry editing, the corresponding tools can be found on the left-hand side of the object editor panel:
![]()
The tools have the following functions:
- Draw new geometry
- Edit geometry
- Delete geometry
- Undo last action
- Restore last action
Changes to the geometry, like the attribute entries, are persisted via the "Save" button in the object editor.