Configuration of rights/roles in the system
Keycloak
Keycloak has a user interface that can be used to manage all relevant administration properties. The detailed documentation is available at https://www.keycloak.org/docs/latest/server_admin/index.html.
Realms
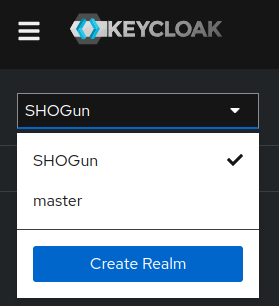
The realm is the top-level organizational unit in Keycloak and combines all other configurations such as resources. All relevant properties are currently stored in the SHOGun realm, i.e. this should always be selected from the drop-down list at the top left below the logo.
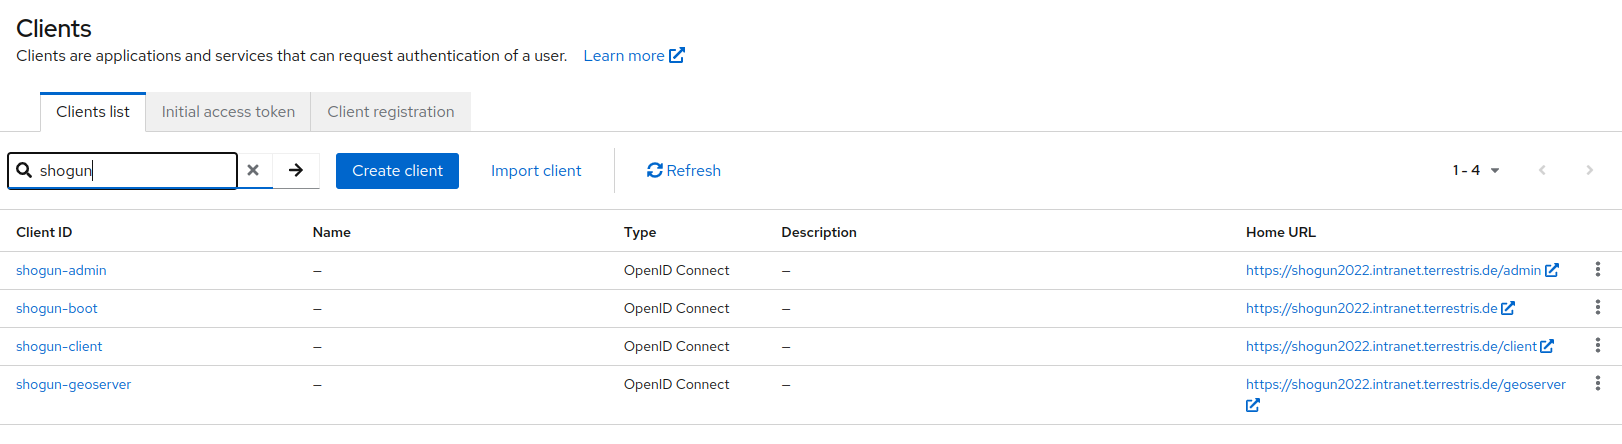
Clients
A client is an application that can request authentication of a user via Keycloak. Currently, these are the GeoServer, the SHOGun client, the SHOGun admin and the SHOGun backend.
The list of clients can be called up via the menu item 'Clients' in the navigation bar, the properties can be called up and adjusted by clicking on the client.
Realm Roles
Roles identify the category of a user and can be used in the clients/applications for fine-grained differentiation of authorizations. For example, a user can be allowed access to the SHOGun client while being denied access to the SHOGun administration.
The specific role details can be called up by clicking on one of the roles. The information in the “Associated roles” tab is mainly relevant here, as the fine-grained authorizations for the individual clients are assigned here, as can be seen in the following example of the “Admin” role.
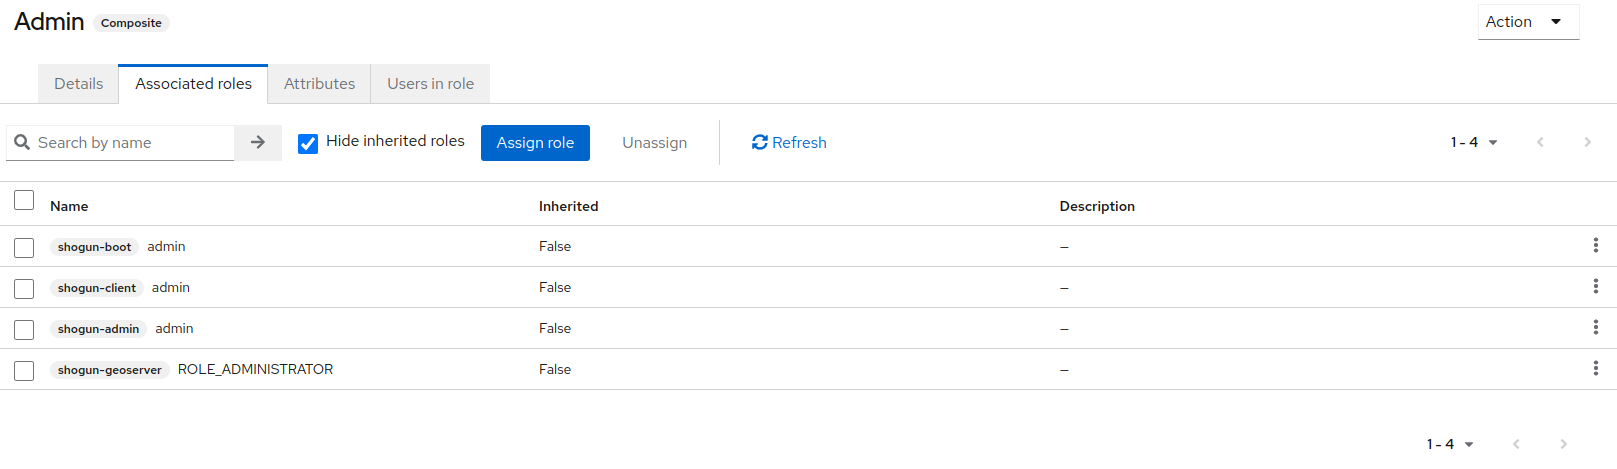
The existing realm roles and role details should be retained in any case to ensure the expected behavior. They can serve as orientation for adding further realm roles.
Users
Users are the entities that are or can be authorized to be authenticated via Keycloak.
The list of existing users can be accessed via the menu item 'Users' in the navigation bar.
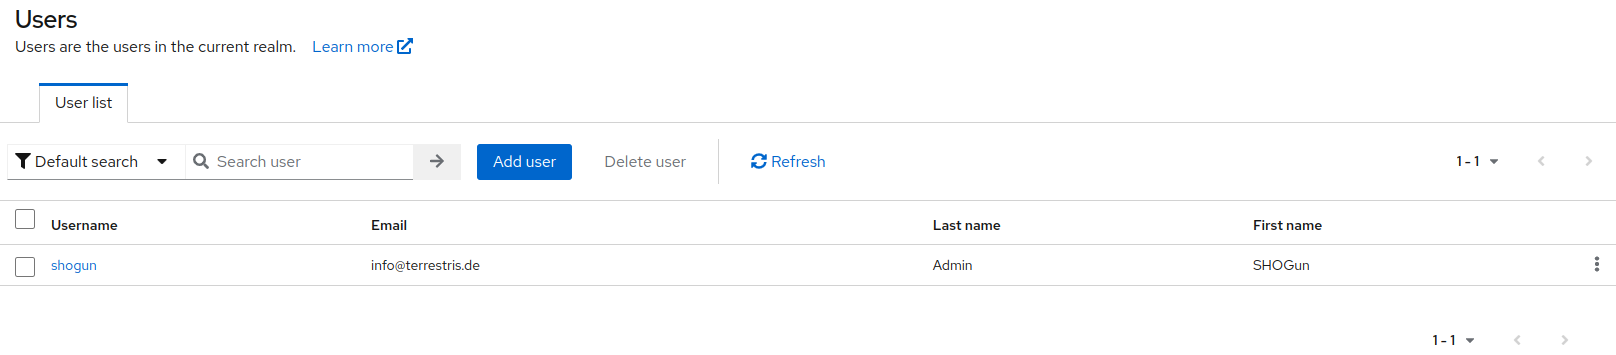
Clicking on a user opens their properties. The 'Role mapping' tab in the user properties is relevant, as this is where the user is assigned the desired realm role that authorizes them to access the components.
Create a new role
To create a new role in Keycloak, for example a new role with restricted access, the following steps are necessary.
Create new client role
As the client roles already exist for all other clients, this step is only necessary if a new specific client role is required for one of the clients.
- The client list is called up via the
Clientsmenu item in the navigation bar. - The relevant client is called up from the list by clicking on the corresponding entry in the table.
- The
Rolestab is called up in the client details. - Click on the
Create rolebutton to open the form for the new role. - The
Role namemust be entered in the input form,Descriptionis optional. - The new client role can then be saved using the Save button. No further steps are necessary here.
Create new realm role
- The list of realm roles is called up via the menu item
Realm rolesin the navigation bar. - Click on the
Create rolebutton to open the form for the new realm role. - The
Role namemust be entered in the input form,Descriptionis optional. - The new realm role can then be saved using the
Savebutton. - In the role details that appear after the saving process, the entry
Add associated rolescan then be called up from the drop-down listActionat the top right. - A new window opens with the list of available role selections.
- The filter field
Filter by realm rolesshould be changed toFilter by clients. The search fieldSearch by role namecan be filtered to the value “shogun” so that the role list only contains the relevant roles for the assignment. - The fine-grained authorizations for the individual clients can now be compiled from the list.
- For access to the
shogun-client, the actual map component, the appropriateshogun-clientrole must be assigned. - To access the
shogun-geoserver, i.e. the GeoServer map server/map services, the appropriateshogun-geoserverrole must be assigned. - In addition, the role
shogun-geoserver ROLE_AUTHENTICATEDmust always be assigned forshogun-geoserverto enable general access to GeoServer. - The admin role has extended client authorizations, which also has access to the administration interface
shogun-adminand to the SHOGun backendshogun-bootand is assigned the roleshogun-geoserver ROLE_ADMINISTRATORfor GeoServer. This does not apply to other roles. These only have access to the map application and the GeoServer or the map services. - After selecting all the required entries from the list, the action can be completed using the 'Assign' button. The roles are now saved.
Create new user
If an additional user is required, this is possible via the following steps:
- The list of users is called up via the
Usersmenu item in the navigation bar. - Click on the
Add userbutton to open the form for the new user. - Only the following attributes need to be entered in the form:
UsernameEmail verifiedshould be set to Yes.FirstnameLastname- The new user can then be saved using the
Createbutton. - In order to set a password for the user, you should then go to the
Credentialstab in the user details and click on theSet passwordbutton. - The password including confirmation must now be entered in the window that opens. The switch for
Temporaryshould be set toOff. - Click on the
Savebutton and then onSave passwordin the following dialog to save the password for the user. The user has now been created.
Provide users with a role
In the case of newly created users, it is necessary to assign a role to the user so that they have all the authorizations in the system that are intended for them.
The following steps are necessary for this:
- The list of users is called up via the menu item
Usersin the navigation bar. - From the user list, the desired user is called up by clicking on the corresponding entry in the table.
- The
Role mappingtab is called up in the user details. - Click on the
Assign rolebutton to open the list of available roles. - The filter field should remain on
Filter by realm roles, as a realm role is now to be assigned. If required, the list can be narrowed down further using the search field. - The desired role is selected via checkbox selection (here it is important to select exactly one role).
- After selecting the desired role from the list, the action can be completed using the
Assignbutton. The role is now saved for the user.
The configuration steps in Keycloak are now complete.
Grant users access to map applications
To grant the new user access to a map application, the following is now required in the SHOGun Admin Client.
- The list of applications is called up via the menu item
Applicationsin the navigation bar. - Click on the desired entry in the application list to open the specific settings for the application on the right-hand side.
- At the bottom of the settings is the list of user authorizations.
- Click the
+button to open the dialog for adding a new user. - Select the user from the upper selection list and select
Readas the authorization in the lower selection list (only the admin user has extended access here). - Click on the
OKbutton to save the authorization to the application. - The user now has access to the corresponding application.
This step is also described here.
GeoServer
Announce new roles in the geoserver
If new realm roles are created in Keycloak that are relevant to the GeoServer, these must be made known to the GeoServer. To do this, the role service keycloak must be opened once by clicking on it in the GeoServer menu under Security->Users, groups, roles->Services and saved again.
Service protection via GeoServer/Geofence
GeoFence is a plugin for GeoServer that extends the options for securing services. The configuration is largely possible via the GeoServer web UI (see above) and can be found in detail in the documentation https://docs.geoserver.org/stable/en/user/extensions/geofence/index.html.
The protection of services in the GeoServer is fundamentally based on so-called data rules. A rule determines how a GeoServer resource is to be restricted. This potential restriction is based on the role of the current user. The role of the current user is defined in Keycloak and is automatically forwarded to the GeoServer. A resource (e.g. a specific layer) is now assigned to this role via various rules and a corresponding access is defined, which either allows (ALLOW) or denies (DENY) the user access. In addition, access for individual attributes of a layer and spatial access can also be controlled in each rule. Rules are evaluated by GeoFence when accessing a resource according to the defined prioritization, i.e. the first matching rule is applied.
All currently configured rules can be viewed after logging into the GeoServer via the menu item 'GeoFence Data Rules'.
The administrator has full access to all services.
Geofence rules are only required for protected layers.