Print/Export
You can use this tool to call up the "Print" function to export a desired map section as a PDF or image. Clicking on the tool opens the print dialogue and a rectangular area on the map is highlighted.
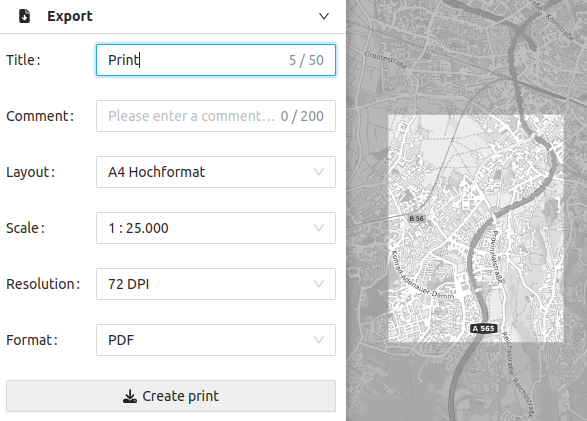
The required information for the print output can be entered via the print form.
- Map title: A title can be freely selected by entering it in the input field (max. 50 characters).
- Comment: A comment can be placed on the printout below the displayed map by writing the text in the input field (max. 200 characters).
- Template: You can choose between a DIN A4 portrait or landscape format.
- Scale: The desired scale can be selected from a list that is displayed by clicking on the arrow to the right of the current scale.
- Format: Either a PDF or a PNG can be created.
The map section is defined by clicking on the light-coloured section on the map. It marks the print section. If the section is activated (red edge), the cursor changes to a hand. The section can be moved to the desired position by holding down the left mouse button.
When the print section is activated, the corners are highlighted by square markers. If you place the cursor on such a marking, a coloured angle indicates that you can now change the size of the section by dragging it while pressing and holding the left mouse button. As soon as the size of the rectangle is changed, the numerical scale in the print dialogue window also changes. On the other hand, the size of the rectangle on the map changes if a different scale is selected in the dialogue window.
Printing is triggered by clicking the "Create print" button and the output file is offered for download after successful creation.